VORRINGARD · Journal · Baking Sourdough in a Cast Iron Pot
Baking Sourdough in a Cast Iron Pot
The whole bake: cold pot against hot pot, how long twelve pounds of iron takes to come up to heat, loading without burning a forearm, and matching capacity to dough weight.
What the Lid Does and Does Not Do
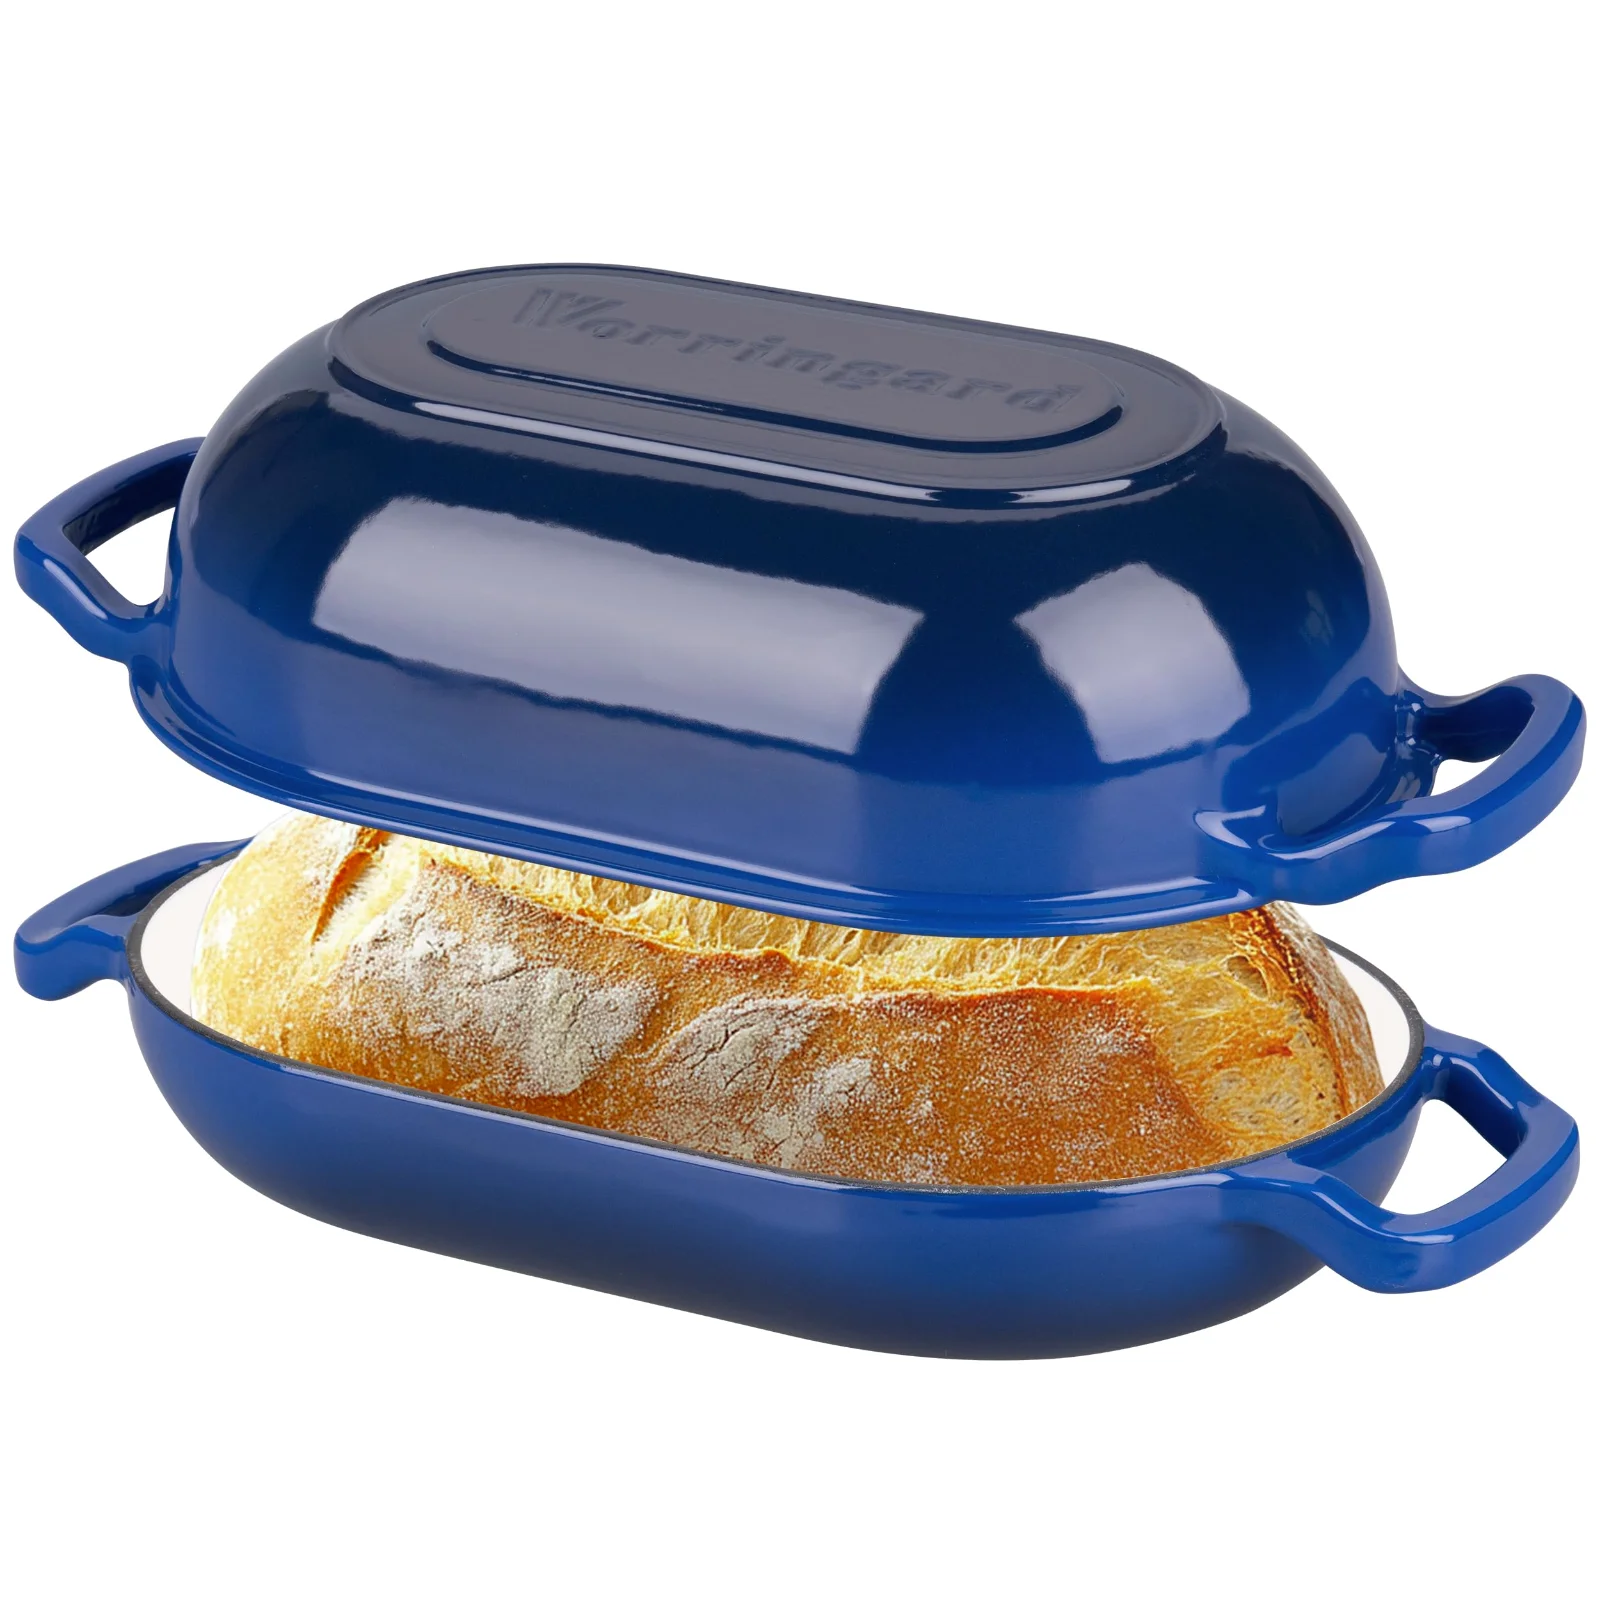
A lidded cast iron pot changes one thing about your home oven by trapping steam that would otherwise rise off your dough and leave through the vent on a baking sheet. The crust sets hard in the first ten minutes after that point, so the loaf cannot open much more, and the crumb stays tighter than you want while the bottom may burn before the top browns. This happens because the sheet conducts heat in one direction only. Inside a lidded pot, the steam from the dough itself stays in the air, so the crust stays soft longer, and the loaf keeps expanding upward and outward. The wall of hot iron radiates heat from all sides rather than only from the bottom rack. You get an oven spring that a sheet pan cannot give you and a crust that crackles when it cools on the wire rack.
That steam window matters most in the first twenty minutes. After that, the loaf needs dry heat to brown and to set the crust fully. The pot gives you both stages in one vessel, so you bake with the lid on to trap the steam, then you lift the lid off to finish the color and the texture. What the pot does not do is fix your timeline. If your dough is under-proofed, it will be dense. The pot will not open the crumb for you. It will not compensate for a cold kitchen or a starter that peaked three hours ago. It will not rescue overworked gluten or too-wet dough that has no strength left. The pot is a vessel, not a time machine. Proof your dough until it is ready. Then the pot helps it bake.
Preheating, Hot or Cold
You have two ways to start, so you can preheat the pot inside the oven, or you can put a cold pot in with the dough already inside, and each path trades safety against spring.
The hot pot method means you set your oven to 450°F or 475°F, and you let the empty pot sit inside while the oven preheats. A 12 lb pot like our 6 qt round at 12.94 lb holds more iron than your oven holds air, so the air might read 450°F on the dial in fifteen minutes, but the pot itself needs longer because the iron is sucking heat out of the air even as the element works. Plan for 40 to 55 minutes at temperature before you call the pot truly hot. Some home ovens cycle hard and lose heat when you open the door, so if yours does, preheat to 475°F and load at 450°F. The reward is immediate heat on the base and walls as soon as the dough lands, and the spring is strong. The risk is that you are moving 900 grams of wet dough into 450°F iron while your forearm hovers over the rim.
The cold pot method means you shape your dough and place it on parchment inside the pot then cover it and put the whole thing into a cold oven before you turn the oven on. The pot heats along with the air, so you add 20 to 25 minutes to the total bake time. The spring is gentler, but your hands never enter a hot cavity. Some bakers split the difference and preheat only to 350°F then load and raise the heat to 450°F. All three approaches work. Your oven, your dough, and your nerves will pick the winner. If you choose hot, remember that even the lightest round in the range at 10.87 lb needs a solid half hour past the beep before the iron matches the air.
Loading the Pot
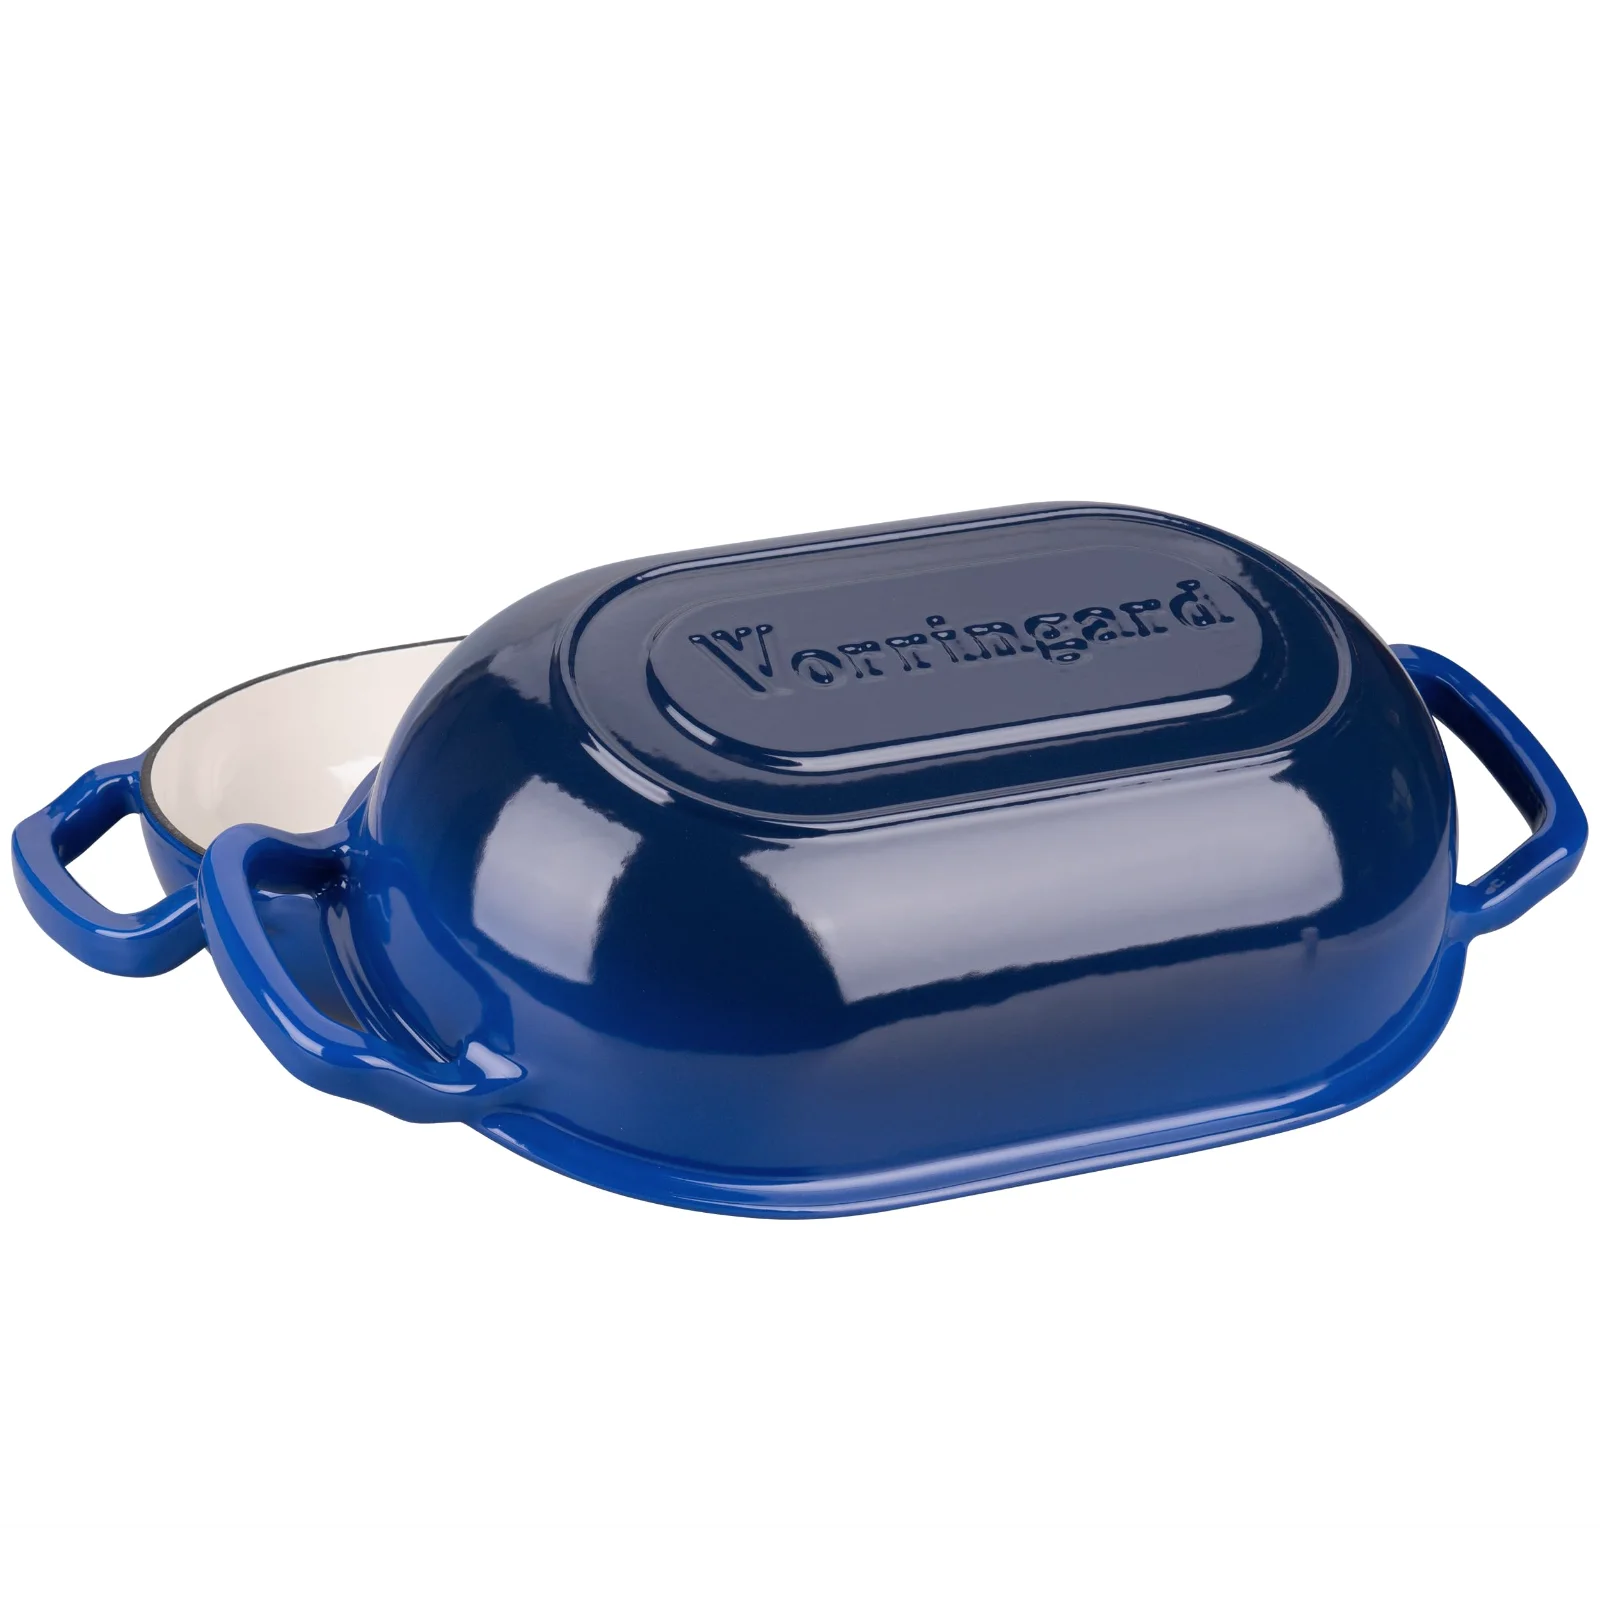
Loading a hot pot is the moment most home bakers dread because the rim is 7 inches or more below the oven rack and the mitt is thick while the dough is floppy. You can solve this with a parchment sling by laying a sheet of parchment over your banneton then flipping the dough onto it and scoring it on the parchment before you lift the dough by the parchment edges and lower the whole sling into the pot. The parchment stays under the loaf for the bake, so you do not need to remove it. Leave enough paper on the sides to grab without letting your knuckles brush the walls, and trim excess if it threatens to touch the oven walls and burn.
If you are using the cold pot method, you simply place the dough on parchment in the pot before it ever enters the oven, so there is no hot rim to clear. If you are going hot, lower the oven rack one slot, so the pot mouth sits closer to the door opening. The walls of a 6 qt round stand 7.7 inches tall, so you are reaching down into a hot well. Use a long oven mitt, not a towel. The combined weight of a 12.94 lb pot and a 1,000 gram dough is just over 15 lb, and that load sits at the end of your wrist. Hold the pot steady with your other hand gloved while you peel the lid. Some bakers slide the pot out onto a heat-safe surface, load it, and slide it back, which is a perfectly valid choice. Do not rush. A burned forearm heals slowly. A dropped pot of hot iron is dangerous. If you have any doubt about your grip, use two people: one holds the pot and one lowers the dough.
The Bake: Lid On, Lid Off
Once the dough is in, cover the pot and set your timer, so the first stage runs about 20 minutes with the lid on while the oven is at 450°F and the steam cannot escape as the loaf opens. These 20 minutes are a starting point, not a law, because if your oven runs cool, you might need 25, and if it runs hot, 18 might be enough. You are looking for the dough to stop expanding and to just begin to set on the surface, so it will still look pale and matte, which is exactly right. If you peek and the dough looks like a balloon that is still growing, give it another 3 minutes, but if it has started to color, pull the lid early.
Then you remove the lid, so the steam floods out while the oven is still at 450°F, though some bakers drop to 425°F at this point to control color. The loaf now bakes in dry heat, so give it another 20 to 30 minutes. A 1,000 gram round loaf at 450°F often needs 25 minutes lid-off to reach an internal temperature of 205°F to 210°F, while a 900 gram bâtard in a loaf pan might need 20. You are baking to color and to temperature, not to the clock. The crust should be deep brown, nearly chestnut, and the base should sound hollow when tapped. If the top is browning too fast, you can lay a sheet of foil over the opening without sealing it because venting matters and trapped steam under foil will soften what you just hardened.
These numbers assume a standard home oven with the pot on the center rack. If you bake in a gas oven with a strong bottom flame, slide a sheet pan on the rack below to diffuse the heat. If you bake in a convection oven, reduce the temperature by 25°F and check early because the fan moves hot air fast and the crust can set before the spring finishes. A dark enamel exterior absorbs heat more aggressively than a light one, so if your pot is a dark green or blue, check the bottom at the 35 minute mark, since it may be done sooner than a white or sea salt pot would be.
Scoring for an Ear
Before the pot goes in, or right after loading if you forgot, you score the dough because the angle of your blade controls what happens. Hold the lame at 30 to 45 degrees to the surface, not straight up and down, so a shallow slash at 15 degrees opens a narrow seam, while a deeper slash at 45 degrees lifts a flap of dough that peels back as the loaf expands. That lifted flap is the ear, and it is the sign that your loaf had enough strength to push upward against its own skin. It also creates a ridge that catches light and casts a tiny shadow, so bakers chase it, because it proves the bake was alive.
One deep cut beats six shallow ones because six shallow cuts create weak spots that gape and heal unevenly, so the loaf opens like a torn pillow instead of a controlled bloom. Choose one decisive line for a bâtard or a cross for a round, and cut ¼ to ½ inch deep depending on dough strength. A slack dough needs a lighter touch, so it does not deflate, while a tense dough can take a deeper channel. If you score too shallow, the seam will close like a zipper, and the loaf will burst where it chooses, usually at a weak spot near the rim. The ear forms in the first ten minutes of baking while the crust is still elastic, so after that, the score is set. If you bake cold start, score before the pot goes into the oven, so the blade does not drag on half-set skin.
Sizing the Pot to Your Dough
Capacity matters because too small means the dough presses the lid while too large means the loaf spreads before it rises, yielding a flat disc. Match the pot to the weight you usually mix, so the right fit gives the dough room to expand without letting it swim. You learn this by baking the same recipe twice in different pots, since the difference in height is immediate. A 1,200 gram dough in a 4 qt pot will touch the lid before the spring finishes, leaving a pale ring and a dense band around the crown, so you want an inch of clearance on all sides at peak expansion.
| VORRINGARD capacity | Dough weight | Loaf shape |
|---|---|---|
| 4 qt oval | 450 g to 700 g | Small bâtard |
| 4.5 qt round | 500 g to 850 g | Round boule |
| 5 qt loaf oven | 600 g to 900 g | Long bâtard or sandwich loaf |
| 6 qt round | 800 g to 1,100 g | Large boule or oval bâtard |
| 7 qt loaf oven | 1,000 g to 1,400 g | Two small bâtards or one large pan loaf |
These ranges assume a standard hydration sourdough at 75 to 80 percent. A lower hydration dough holds more shape and can edge toward the higher gram count, while a very wet dough needs room to spread, so stay toward the lower end. The 5 qt loaf oven at 11.0 lb suits a single large sandwich loaf. The 7 qt at 14.20 lb can handle a bigger batch or two smaller loaves side by side. If you bake a 500 gram dough in a 7 qt pot, it will bake, but it will look like a coin at the bottom of a bucket, because the steam volume is wrong. The crust forms too early from the excess hot air, and the loaf never reaches its potential.
Matching Shape to Vessel
The outline of your proofed dough should match the floor of the pot because a mismatch costs you height or color. You can force a round loaf into an oblong pot, but the dough knows the difference, so an oval bâtard in a round pot leaves two wet crescents where the ends press against the wall, and the center dries out before the tips catch up. The dome of a round bread oven pushes heat back down onto the crown of a boule, and that is the whole reason the shape pairs work.
| Loaf Shape | Pot Shape | What Goes Wrong in the Wrong Fit |
|---|---|---|
| Round boule | Round bread oven or domed baker | In an oblong loaf oven, the boule flattens against the long walls and bakes unevenly |
| Long bâtard | Oblong loaf oven or oval baker | In a round pot, the ends press against the hot iron and stay pale and dense |
| Baguette | Baguette tray | In a round Dutch oven, the dough folds on itself and tears where it bunches |
| Sandwich loaf | Loaf oven or double loaf pan | In a wide round pot, the loaf spreads sideways instead of rising tall |
| Oval free-form | Oval baker or wide round Dutch oven | In a narrow oblong, the sides touch early and the center stays underbaked |
The baguette tray is 17 inches long with handles, 15 inches without, and its lid closes over the whole tray, so the three loaves steam together. It is the only shape in our line that fits a true baguette without cramping. The double loaf pan gives you two 10 by 5.5 inch chambers, so that is a specific shape. Do not try to force a large round boule into it, because the dough will not know where to go and will slump into the corners and bake into a flying saucer with a pale belly.
Cleaning, Living With It, and the Next Bake
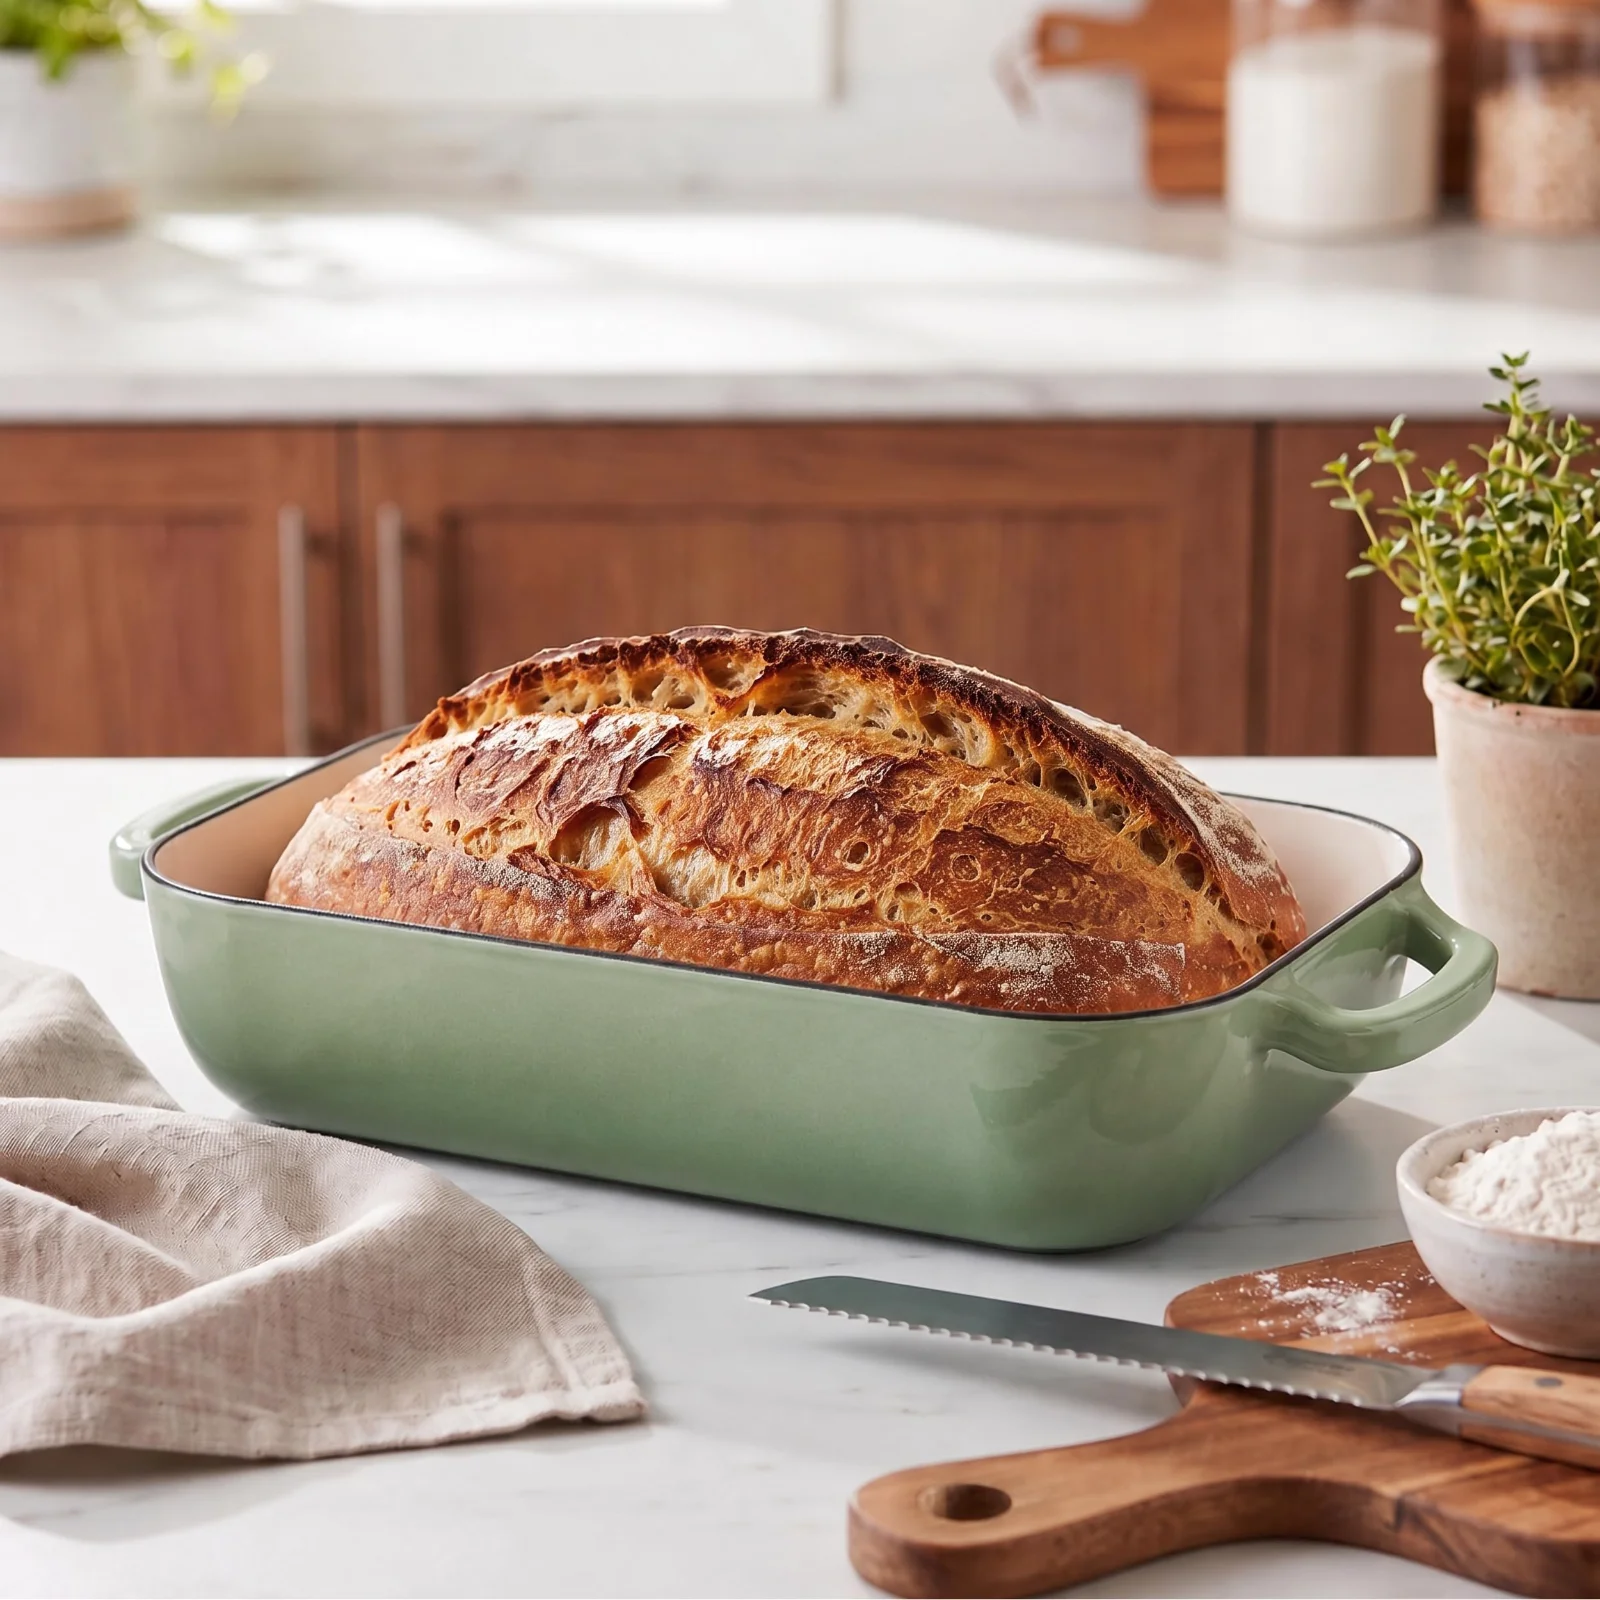
After the bake, let the pot cool to room temperature because thermal shock from a cold tap can crack enamel. Wash by hand with warm water and a soft sponge, so you do not need soap every time, and you never need to season an enamelled pot inside or out. If you see marks on the interior from a scorched flour dusting, make a paste of baking soda and water, spread it on the stain, and let it sit for ten minutes, because it lifts off without abrasion. For stubborn spots, a wooden scraper is safe, and plastic works too, but metal will scratch the glass surface and leave gray trails that never quite polish out.
The outside will stain because oil from your hands and oven grime and flour dust will leave marks on the enamel. This is what a used pot looks like, so it does not mean the pot is damaged. Do not attack the exterior with metal scrubbers or steel wool. The enamel is glass, so it can chip if you strike it against a faucet or bang the lid against the rim. Dry the pot fully before storing it, especially around the rim, to prevent rust on any exposed iron. Store the lid slightly ajar if you live in a humid climate, because air circulation keeps the interior fresh. If you own bare seasoned iron from our open fire line, the rules change because those pots arrive pre-seasoned and need the same oil-and-heat care you would give any cast iron skillet. The enamelled line does not.
A cooling loaf sings in crackling half-notes that fade as the crumb settles.
Your first bake in new iron is a rehearsal, so you learn how your oven cycles and how fast your dough browns under the lid. You learn how much water your flour really needed and the exact angle that lets your lame glide instead of drag. You learn whether your kitchen timer is loud enough to hear over the vent hood. The second bake is better. You load with more confidence because you know exactly how the parchment sits, and you have a feel for the weight of the lid in your hand. The crust is darker, the ear is sharper, and the crumb is open where you want it to be. You stop guessing at proofing time because the pot has shown you what a fully ready loaf can do. Keep the notes and adjust by 25 degrees or 5 minutes at a time. The pot will outlast your starter, and the starter will outlast your first notebook.
More from the journal
Every pot named on this page sits on one page in the VORRINGARD range, with its capacity, its weight and its colours.